How to setup a Vacation mesage for your Anu Hosted Email account

To set up a Vacation auto-reply message on your Anu Hosted email account, also sometimes called Out of Office, follow these steps:

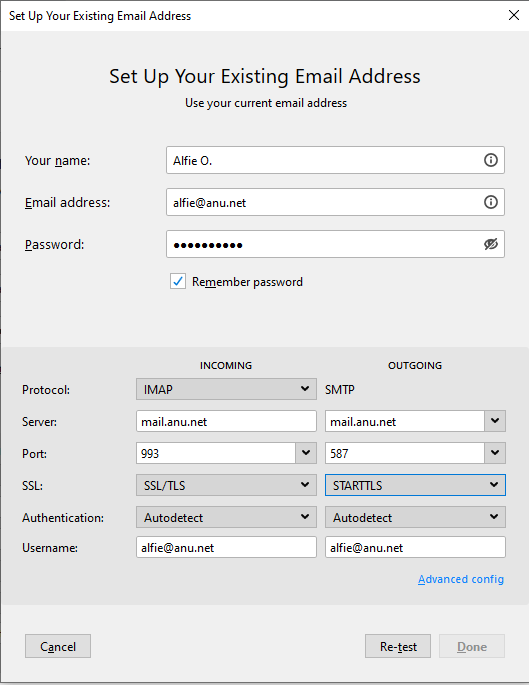
  1. Login to https://portal.anu.net with your Anu Hosted email account.
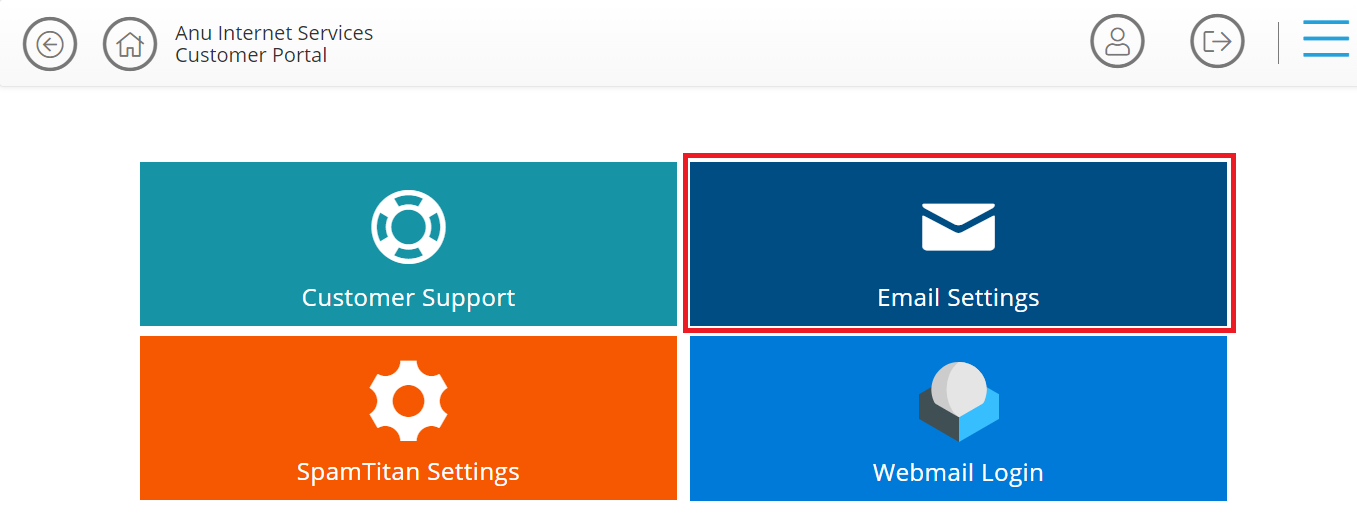
  2. Click on “Email Settings” to reach the settings of your email account. See screenshot below:

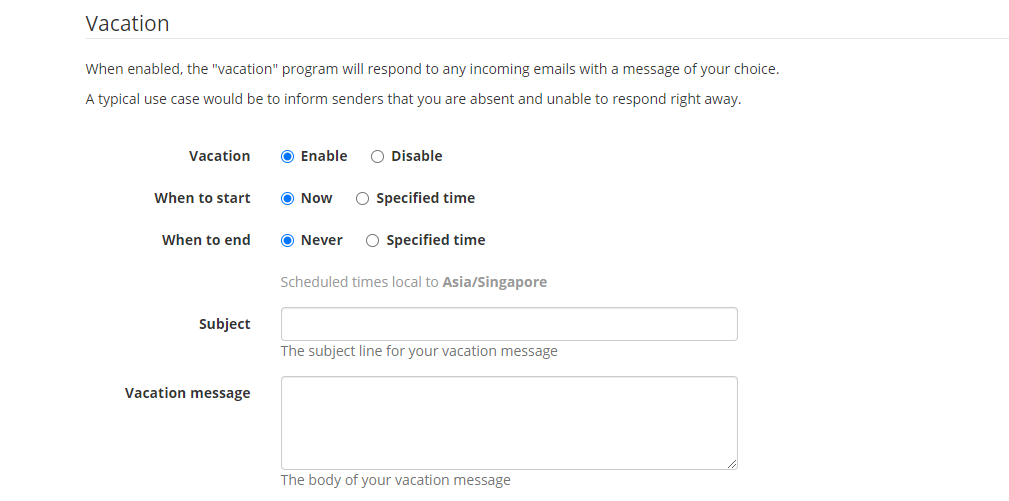
3. Once you are on the email settings of your account, navigate to the vacation settings and tick “Enable” to enable to vacation settings.

4. Once you enabled the vacation settings other options will show just like the screenshot below:

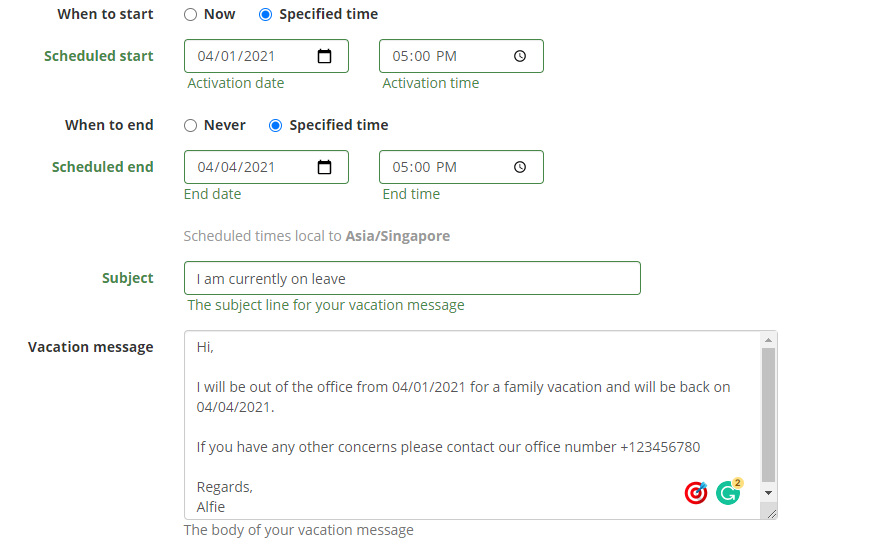
5. Under “When to Start” settings tick on “Specified time” to set the start time of your vacation auto reply message.

6. You will also need to enable the “When to End” settings, where you will need to specify the end date of your vacation settings to stop the vacation mode. See screenshot below

7. Now you also need to put the subject of your vacation auto message and as well the content why you are on a vacation mode. See screenshot below:

8. After you filled the “Subject” and the “Vacation message” navigate to the bottom of the email settings and hit the “Save” button to save the changes you set.

How to Block or Allow a Sender or Domain on SpamTitan

This article will walk you through the steps on how to Allow (always approve) or Block (reject) a specific sender address or an entire domain name for your Anu Hosted Email account. This can be useful to prevent SpamTitan from quarantining emails from specific senders or to instruct it to block senders from which you frequently receive spam.

1. Using your email credentials, log into the following URL: https://spamtitan.anu.net

2. If you have Domain Administrator access to your account, you may be prompted to select the access level.  Click User to view your personal quarantine and settings.

3. Click on the Filter Rules tab.

  1. Click on User Allow List or User Block List, depending on the type of entry you would like to add.
  2. The first section, Blocked Email Addresses or Allowed Email Addresses, include sender email addresses that have been Blocked or Allowed respectively.

6. The second section, Blocked Domains or Allowed Domains, includes sender domains that have been Blocked or Allowed respectively.

7. To add a new entry for Block List or Allow List, click the Add button under the respective section.

8. Enter the sender’s Email Address or Domain as appropriate.  The Comment field is optional.

9. Click the Save button to add the listing.

How to set up your Anu Hosted Email account on Mozilla Thunderbird

First Open Mozilla Thunderbird and click on the “Local Folders” at the left pane then under “Set Up Another Account” from the main pane of the app. Click on the “Email” button to add your email account, see screenshot below:

A pop-up will show asking for the login credentials. You have to fill in the information first before you will be able to click on the “Configure Manually..” button from the lower part of the pop-up screen then click on it.

See screenshot below:

Then you will see the settings for IMAP/POP below the login information,

For Incoming server details: Server: mail.anu.net – Port: 993 – SSL: SSL/TLS – Authentication: Auto Detect – Username: your@email.com

For SMTP server details: Server: mail.anu.net – Port: 587 – SSL: STARTTLS – Authentication: Auto Detect – Username: your@email.com

See screenshot below:

Then click on “Done” button.

Enjoy your Anu Hosted Email account with Mozilla Thunderbird app.