WordPress installation on DirectAdmin using Installatron.
In this short tutorial, we will demonstrate how to install WordPress using the DirectAdmin control panel included with all our Web Hosting accounts. It is very easy to install WordPress using Installatron. Installatron is a one-click web application installer that enables photo galleries, forums, shops, and other top web applications to be instantly installed on your desired domain name.
Here are the steps to follow if you want to install WordPress on your Web Hosting account.
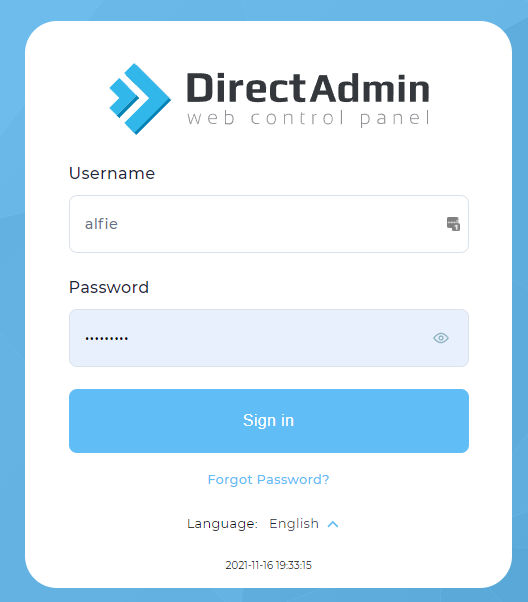
1) Login to https://your-domain-name.com:2222 using the account details we sent to you by email.
2. Once you are in, you will be redirected to the Dashboard of your account. See sample picture below

3. At the left pane you will see icons of your available settings for your account and one of those is using Installatron.
4. You can click on the 4 dots icon at the top left corner of the side bar to view full details of the available options or settings for your account.
5. Now click the 4 dots icon on the sidebar to view the available options for you and click on “Extra Features” then “Installatron Application Installer”.
6. You will be redirected to the Installatron dashboard page of your account.
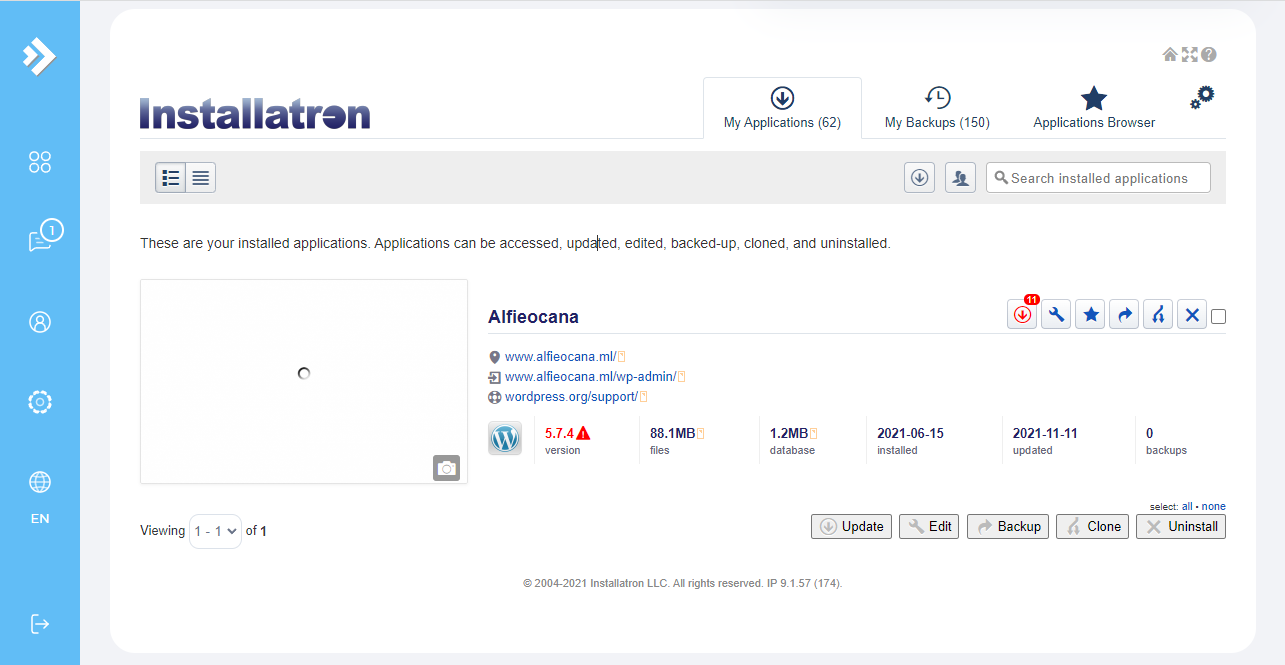
7. At the top right of the page you will see a tab “Applications Browser”, click on it to view available apps for you to install thru Installatron. You will see a lot of apps listed in category and just scroll down to the Apps for Content Management category and look for WordPress Icon then click on it.

8. After you clicked on the WordPress icon, you will be redirected to the installation page.
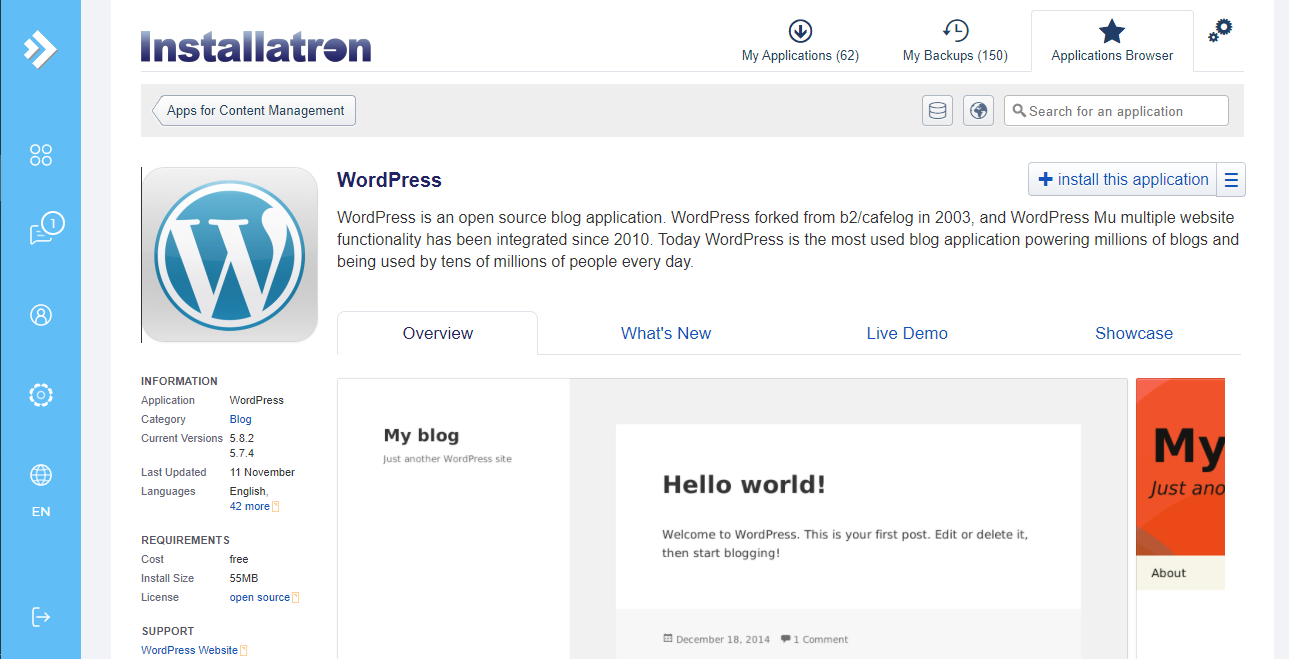
9. Click on the “+ install this application” button. You will be redirected to the page where it will ask you for a lot of details like the domain name that you want to use. You can skip the Directory field which is optional and only required if you want to install WordPress in a sub-folder of your domain, eg. your-domain.com/blog/.
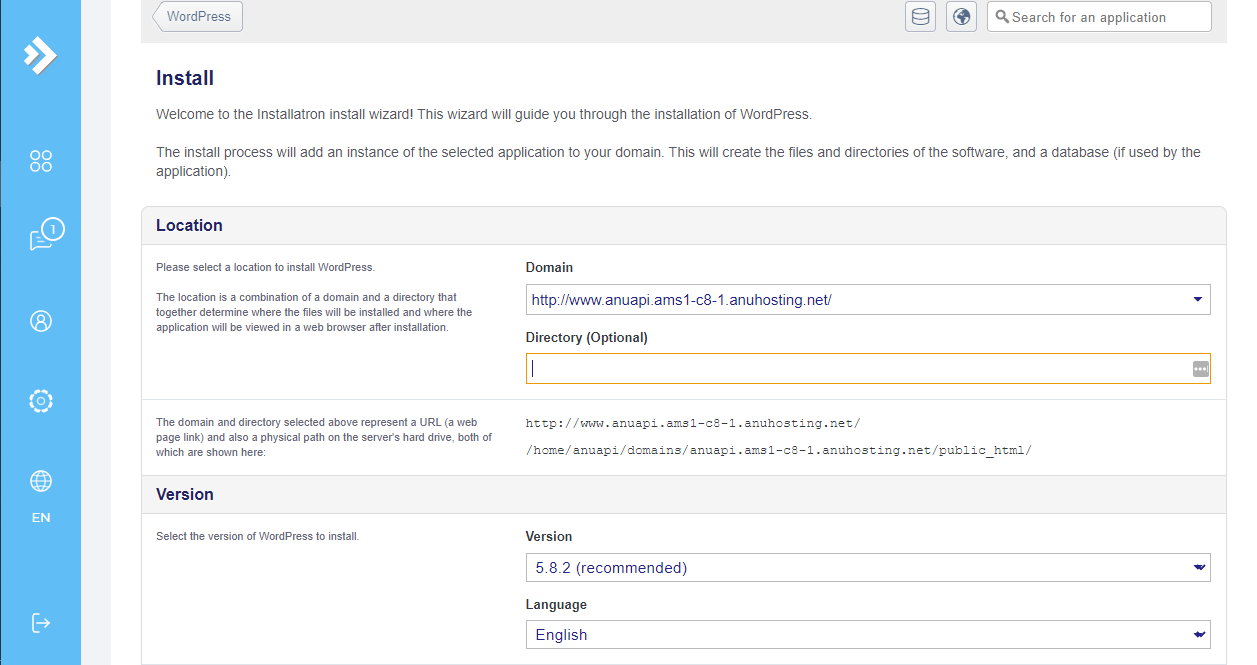
11. Take note that you will only need to modify the domain field. Next, navigate to the settings area and set your preferred admin details and as well admin contact details.

12. Once you are done filling the settings area, navigate to the bottom of the page to start the installation of your WordPress site.
You will have to wait until the installation is 100% or complete before you can start viewing your website. Links are provided in Installatron to access the back-end WordPress admin area where you can customise your site and start creating content.