On Sunday 27 February 2022 we upgraded our SpamTitan service to a new server. As well as faster, more modern hardware, new appliance uses a new version of FreeBSD under the hood which brings many performance and security enhancements.
While we do not anticipate any disruption to service, there are two potential issues to be aware of:
The source IP address of SMTP connections from our SpamTitan server has changed. If you are running your own email server and previously had 83.96.156.210 configured explicitly in your firewall, please update this to 193.189.141.10 in order to continue receiving clean email. Our SpamTitan server will queue your mail for up to 3 days. The old IP address will continue to accept inbound SMTP connections on port 25 for 14 days, after which it will be disabled.
Unfortunately it has not been possible to migrate the existing Spam Quarantine, so if you need to access any mail that was quarantined prior to 27 February you will need to log in at https://ams2-spamtitan.anu.net/ in order to release it from your quarantine.
If you have any questions or concerns, please do not hesitate to drop us an email to support@anu.net.
All Anu Hosted Email accounts include Roundcube Webmail. Roundcube allows you to send and receive email via your browser with no additional software or configuration required. It also includes advanced calendar functionality with the ability to share calendars and sync to desktop and mobile devices.
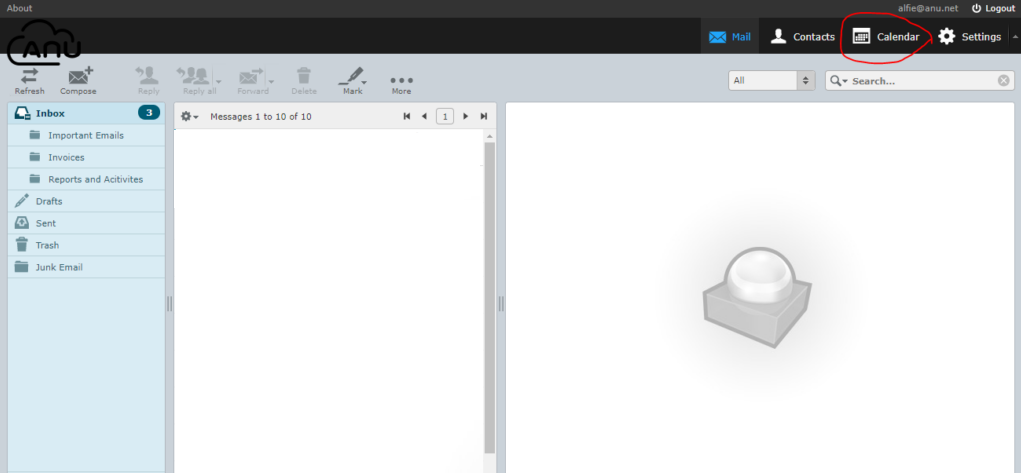
Once you are logged in, click on Calendar in the top right of your webmail dashboard. See screenshot below.
This is where you can access your calendar in Roundcube. To add an event, just click inside the calendar area and a new event form will open up.
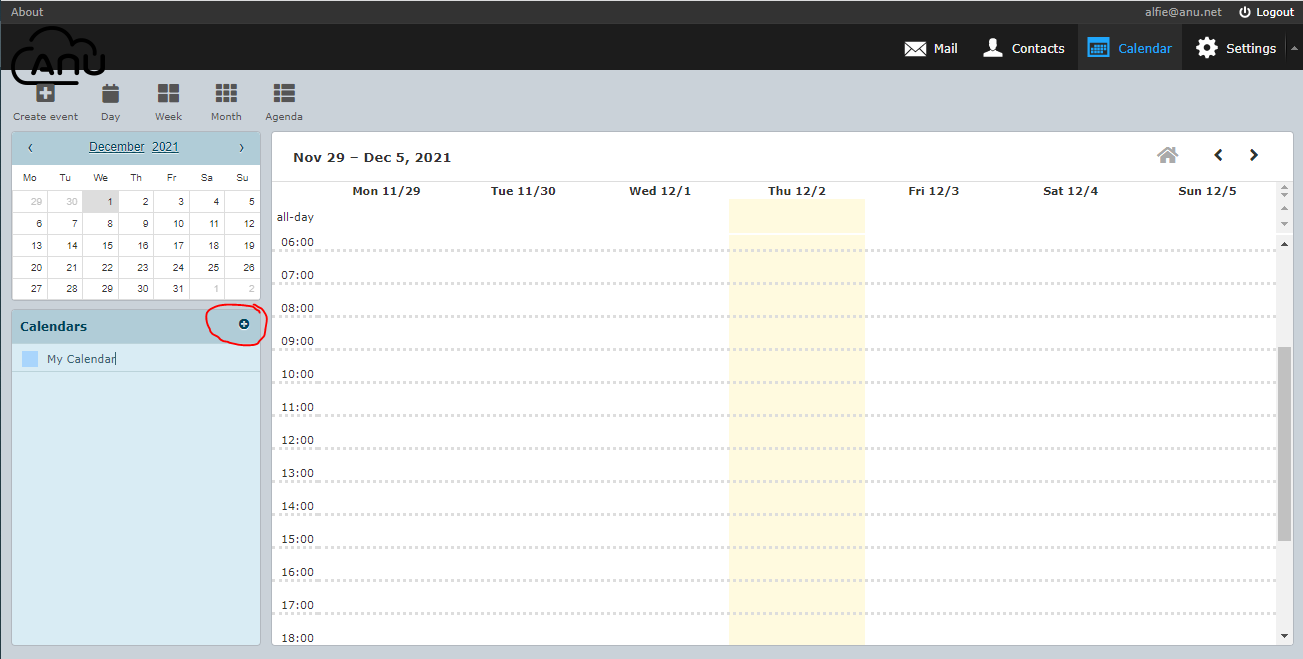
If you want to set up a shared calendar, click on the small + sign (see screenshot). Once you clicked on the button, it will provide you 2 options, either “Create a calendar” or “Add shared calendar”.
If you want to choose to create a calendar, it will open a form with tabs to configure the details (Summary, Share Calendar, Publish Calendar, Sync Calendar and Import/Export).
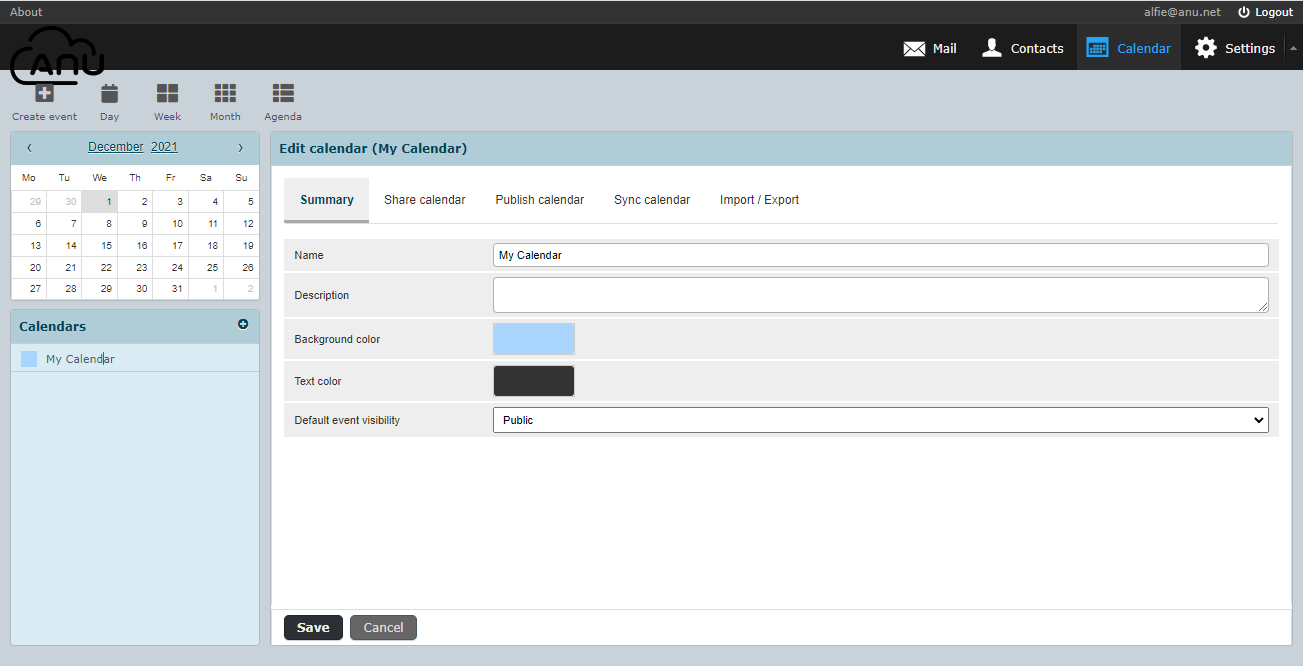
Summary tab – It will ask your for the Calendar name, Description, Background color, Text Color and Default Event visibility which gives you 2 options either private or public.
Share Calendar tab – This is where you want to share your calendar and you will be asked for the email addresses of the users that you want to share your calendar to.
Publish Calendar tab – This is where you can share your calendar publicly without inviting the users so anyone that has the link will be able to view your calendar. Normally if you are creating the calendar this option will ask you to create the link first before you can share it to public.
Sync Calendar tab – This is where CalDav connection is set. It will ask you for the Display name, Password, Either you want it on a read only mode or shared.
You may also want to follow the guide on the link below in creating CalDav connections:
The last tab is Import/Export tab where Roundcube allows you to import events that are stored locally. You can also do the other way around which is exporting your calendar events.
The last option from the + button is the Add shared Calendar. This option is used to scan available shared calendar, domain wide. If none is detected then it will tell you that “There are no shared calendars you can add.”.
If you are having any problems following this guide, you can always reach out to us either via live chat (click the icon in the bottom right of this window) or send us an email and we will be happy to assist.