As part of our proactive managed service we are working on upgrading PHP for all Web Hosting customers who are still using the 7.X branches which are end of life and no longer supported.
Customers with managed servers will be contacted on an individual basis regarding these upgrades.
Customers using our Web Hosting account plans on our shared DirectAdmin servers will be upgraded to PHP 8 automatically starting from 22 February. PHP 8 maintains good backwards compatibility with 7.X but there are a few backward incompatible changes so there is a small chance that some sites or specific functions within your site may not run properly under PHP 8. In most instances our monitoring servers will detect this automatically. Any site returning a 500 Internal Server Error response will be flagged up by our monitoring system. If your site is flagged up we will investigate whether the site can be easily upgraded to support PHP 8. If it is not possible to run on PHP 8 without extensive modification we will revert to PHP 7.X and contact you to discuss options.
If you have any questions or concerns, or discover any functionality in your site which does not work on PHP 8, please contact us for assistance.
All Anu Hosted Email accounts include Roundcube Webmail. Roundcube allows you to send and receive email via your browser with no additional software or configuration required. It also includes advanced calendar functionality with the ability to share calendars and sync to desktop and mobile devices.
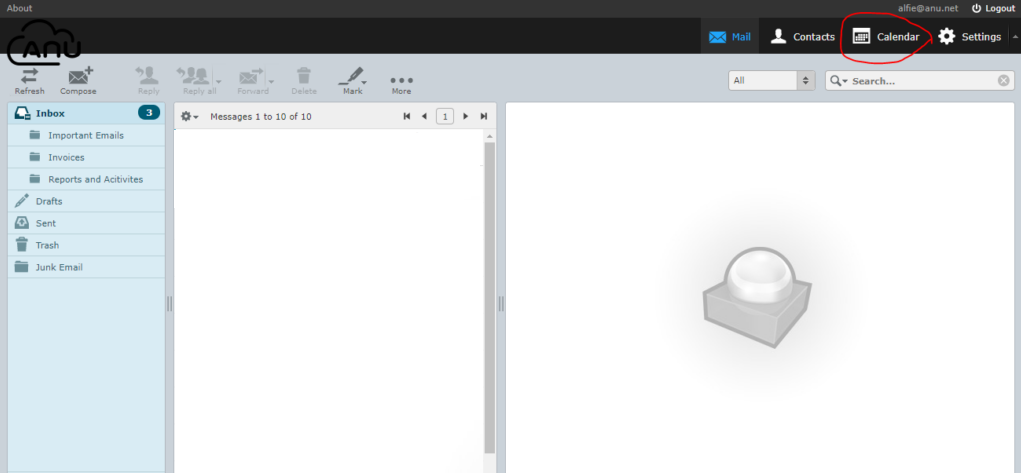
Once you are logged in, click on Calendar in the top right of your webmail dashboard. See screenshot below.
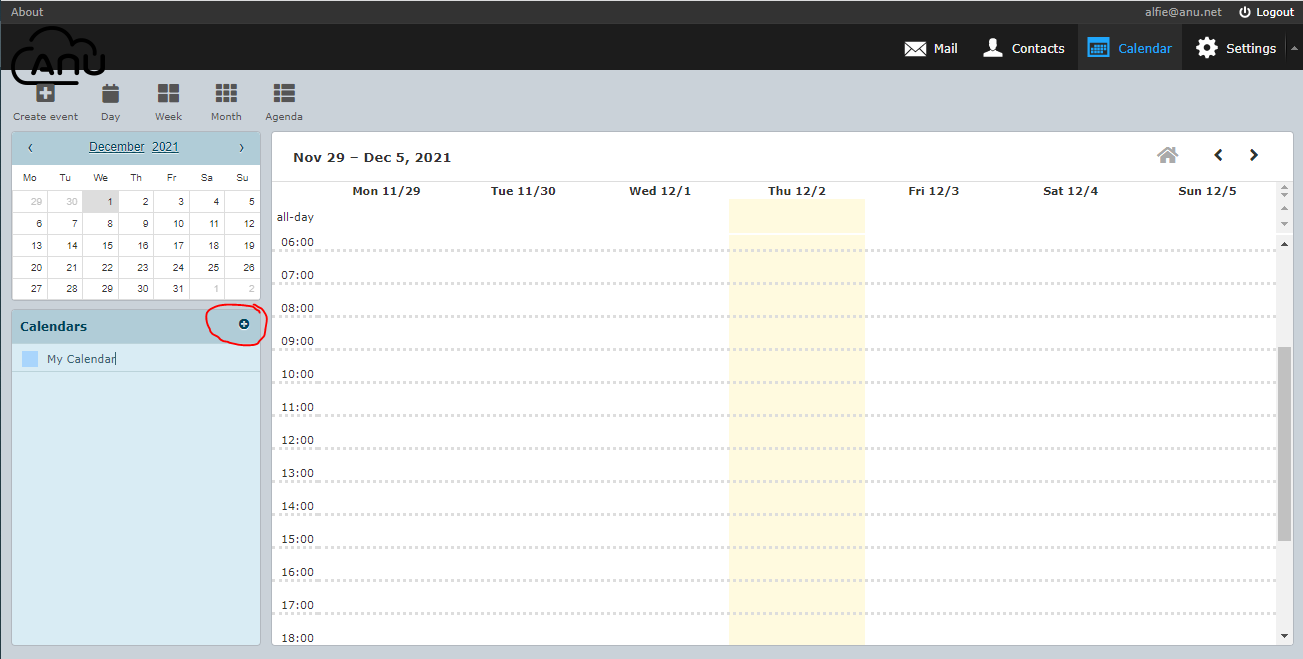
This is where you can access your calendar in Roundcube. To add an event, just click inside the calendar area and a new event form will open up.
If you want to set up a shared calendar, click on the small + sign (see screenshot). Once you clicked on the button, it will provide you 2 options, either “Create a calendar” or “Add shared calendar”.
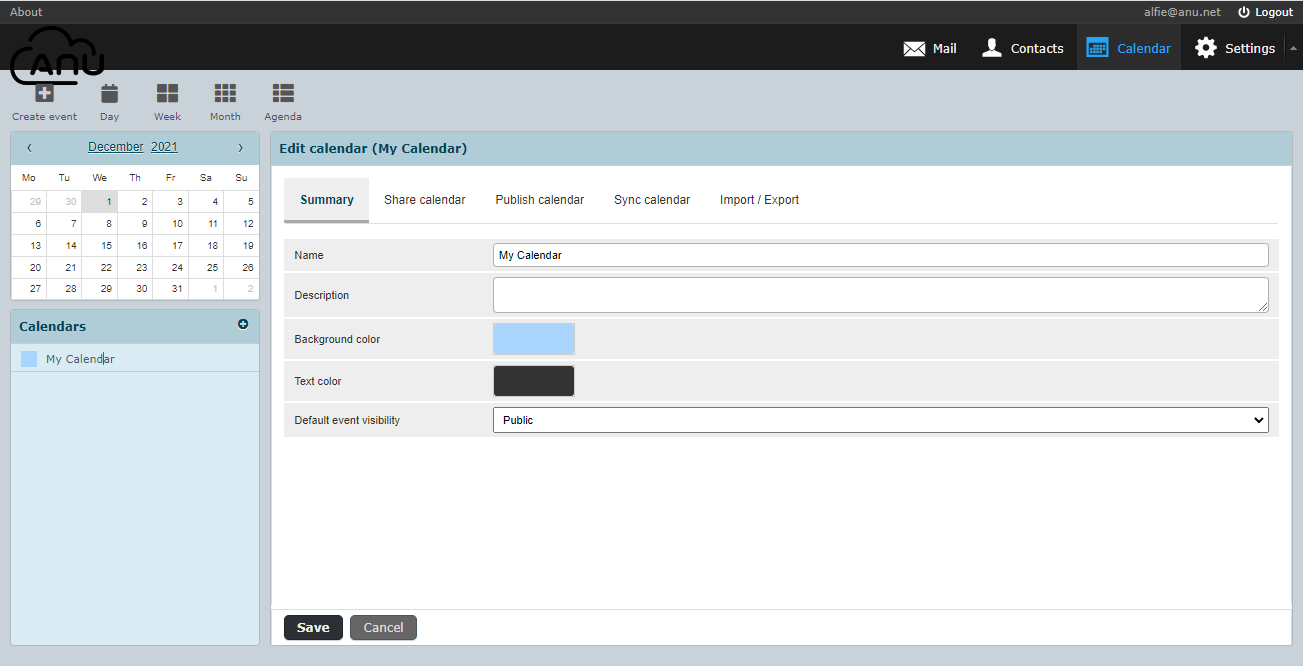
If you want to choose to create a calendar, it will open a form with tabs to configure the details (Summary, Share Calendar, Publish Calendar, Sync Calendar and Import/Export).
Summary tab – It will ask your for the Calendar name, Description, Background color, Text Color and Default Event visibility which gives you 2 options either private or public.
Share Calendar tab – This is where you want to share your calendar and you will be asked for the email addresses of the users that you want to share your calendar to.
Publish Calendar tab – This is where you can share your calendar publicly without inviting the users so anyone that has the link will be able to view your calendar. Normally if you are creating the calendar this option will ask you to create the link first before you can share it to public.
Sync Calendar tab – This is where CalDav connection is set. It will ask you for the Display name, Password, Either you want it on a read only mode or shared.
You may also want to follow the guide on the link below in creating CalDav connections:
The last tab is Import/Export tab where Roundcube allows you to import events that are stored locally. You can also do the other way around which is exporting your calendar events.
The last option from the + button is the Add shared Calendar. This option is used to scan available shared calendar, domain wide. If none is detected then it will tell you that “There are no shared calendars you can add.”.
If you are having any problems following this guide, you can always reach out to us either via live chat (click the icon in the bottom right of this window) or send us an email and we will be happy to assist.
WordPress installation on DirectAdmin using Installatron.
In this short tutorial, we will demonstrate how to install WordPress using the DirectAdmin control panel included with all our Web Hosting accounts. It is very easy to install WordPress using Installatron. Installatron is a one-click web application installer that enables photo galleries, forums, shops, and other top web applications to be instantly installed on your desired domain name.
Here are the steps to follow if you want to install WordPress on your Web Hosting account.
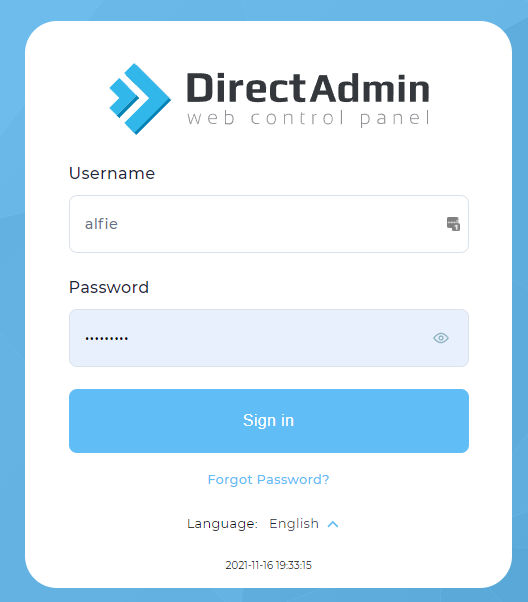
1) Login to https://your-domain-name.com:2222 using the account details we sent to you by email.
2. Once you are in, you will be redirected to the Dashboard of your account. See sample picture below
3. At the left pane you will see icons of your available settings for your account and one of those is using Installatron.
4. You can click on the 4 dots icon at the top left corner of the side bar to view full details of the available options or settings for your account.
5. Now click the 4 dots icon on the sidebar to view the available options for you and click on “Extra Features” then “Installatron Application Installer”.
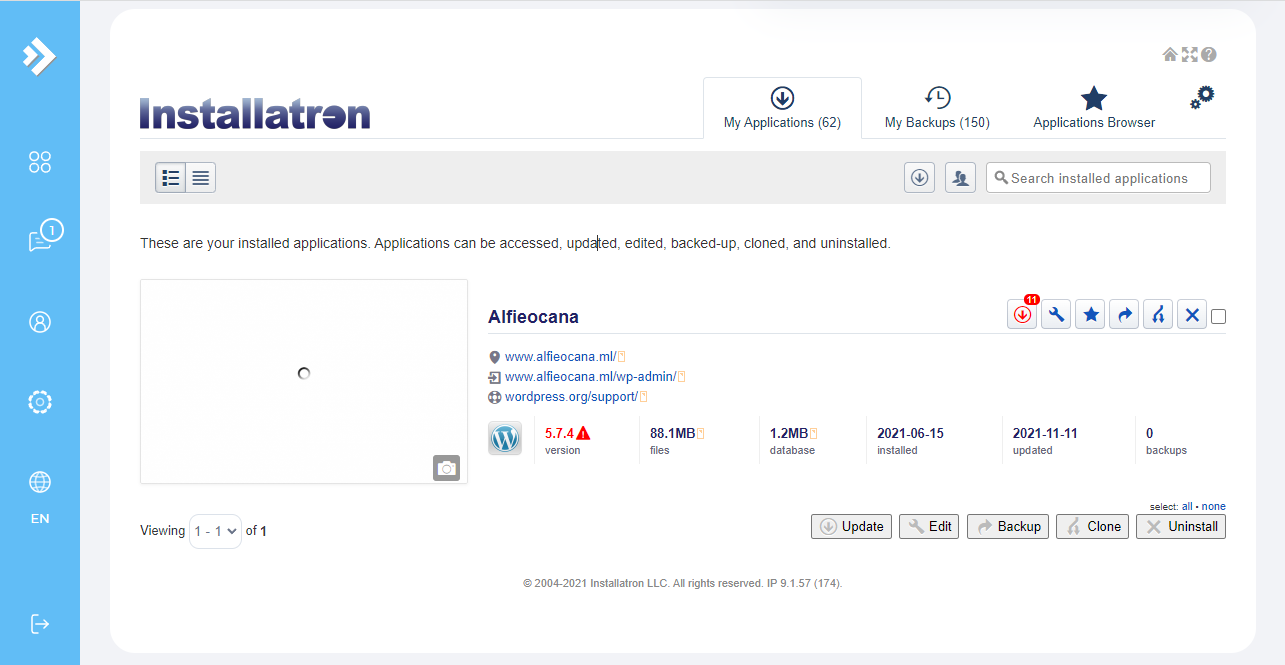
6. You will be redirected to the Installatron dashboard page of your account.
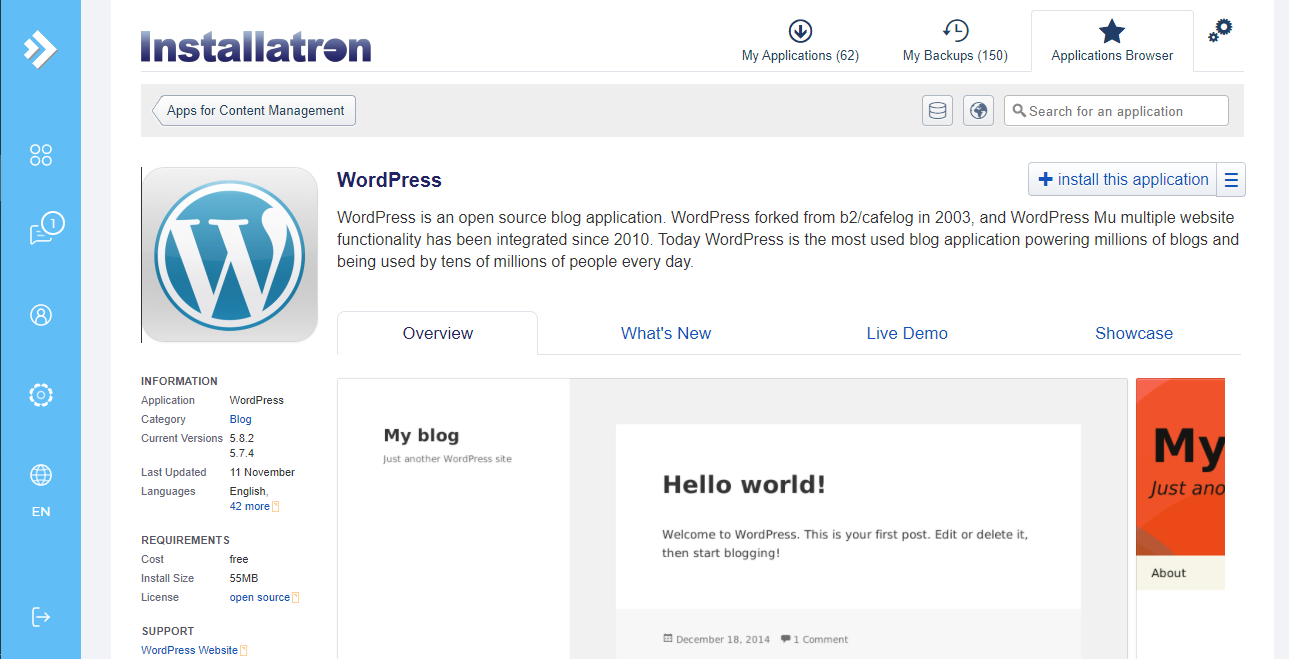
7. At the top right of the page you will see a tab “Applications Browser”, click on it to view available apps for you to install thru Installatron. You will see a lot of apps listed in category and just scroll down to the Apps for Content Management category and look for WordPress Icon then click on it.
8. After you clicked on the WordPress icon, you will be redirected to the installation page.
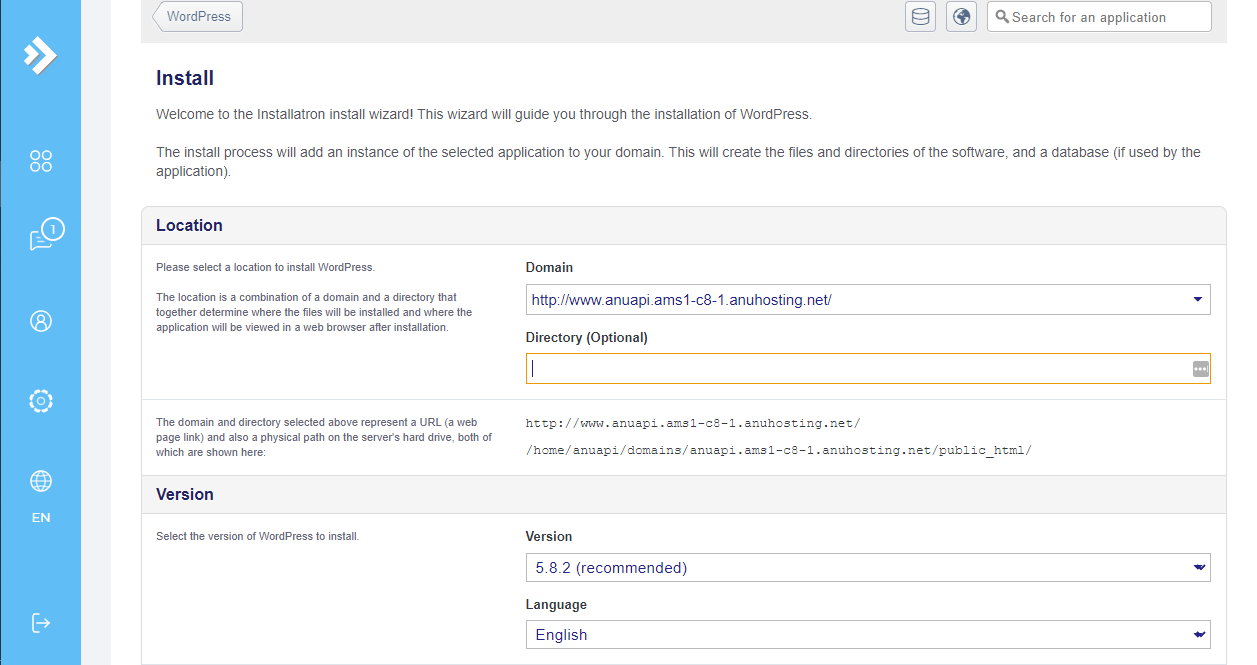
9. Click on the “+ install this application” button. You will be redirected to the page where it will ask you for a lot of details like the domain name that you want to use. You can skip the Directory field which is optional and only required if you want to install WordPress in a sub-folder of your domain, eg. your-domain.com/blog/.
11. Take note that you will only need to modify the domain field. Next, navigate to the settings area and set your preferred admin details and as well admin contact details.
12. Once you are done filling the settings area, navigate to the bottom of the page to start the installation of your WordPress site.
You will have to wait until the installation is 100% or complete before you can start viewing your website. Links are provided in Installatron to access the back-end WordPress admin area where you can customise your site and start creating content.